Stained Glass Cookies Recipe

Imagine pulling a tray of Stained Glass Cookies from the oven, watching the colors melt into vibrant, jewel-like patterns that catch the light just like a church window. I’ve always been fascinated by how simple ingredients can create such a magical effect, and these Stained Glass Cookies have become a holiday favorite in my kitchen. The first time I made them, the kids gathered around, eyes wide as the hard candies dissolved into stunning stained glass designs—it’s that kind of wonder that keeps me baking year after year.
Whether you’re prepping for a festive gathering or just want to add some sparkle to your cookie jar, this recipe for Stained Glass Cookies is straightforward and endlessly customizable. In my experience, they not only taste buttery and sweet but also spark joy in everyone who sees them. Let’s dive into how you can create your own batch of these delightful treats—trust me, once you try them, you’ll be hooked.
Key Takeaways:
- Stained Glass Cookies create a stunning visual effect with melted candy centers that mimic colorful glass art.
- Prep time is under 30 minutes, making them a quick bake for busy days.
- The buttery dough pairs perfectly with the sweet, fruity candy flavors for an irresistible taste.
- Chill the dough briefly to ensure clean cuts and prevent spreading in the oven.
- Store extras in an airtight container for up to a week to keep them fresh and crunchy.
Why You’ll Adore This Stained Glass Cookies
Visual Wow Factor: These Stained Glass Cookies aren’t just delicious—they’re a feast for the eyes with their translucent, candy-filled centers that glow under light. I’ve served them at parties, and they always steal the show, turning ordinary gatherings into something special. It’s that artistic touch that makes baking feel like creating art.
Grab This Chef Knife Now - Almost Gone!

- Stays Razor-Sharp: Ice-hardened blade keeps its edge longer than ordinary knives
- Superior Grip Control: Unique finger hole design gives you perfect balance and safety
- Built to Last a Lifetime: Premium stainless steel blade with elegant beech wood handle
- ✓ Finally, a knife that stays sharp and feels comfortable in my hand
- ✓ Professional quality without the premium price tag
- ✓ Makes meal prep faster and more enjoyable
⏰ Only a few items left in stock - order soon
Easy for All Skill Levels: Don’t let the fancy look fool you; making Stained Glass Cookies is surprisingly simple with basic tools you already have. Here’s the thing: even if you’re new to cookie decorating, the candy does most of the work as it melts. You’ll feel like a pro in no time, and the results are always impressive.
Customizable Colors and Flavors: One of the best parts about Stained Glass Cookies is how you can mix and match candy colors to fit any theme or season. What I find interesting is how a simple swap in candy types can change the flavor profile entirely. They’re versatile enough for holidays, birthdays, or just because.
Perfect for Gifting: Package these beauties in a clear tin, and you’ve got an thoughtful, homemade gift that wows recipients. In my experience, people love the handmade charm, and the stained glass effect makes them stand out from typical cookies. Let’s be honest—who wouldn’t smile at such a colorful surprise?
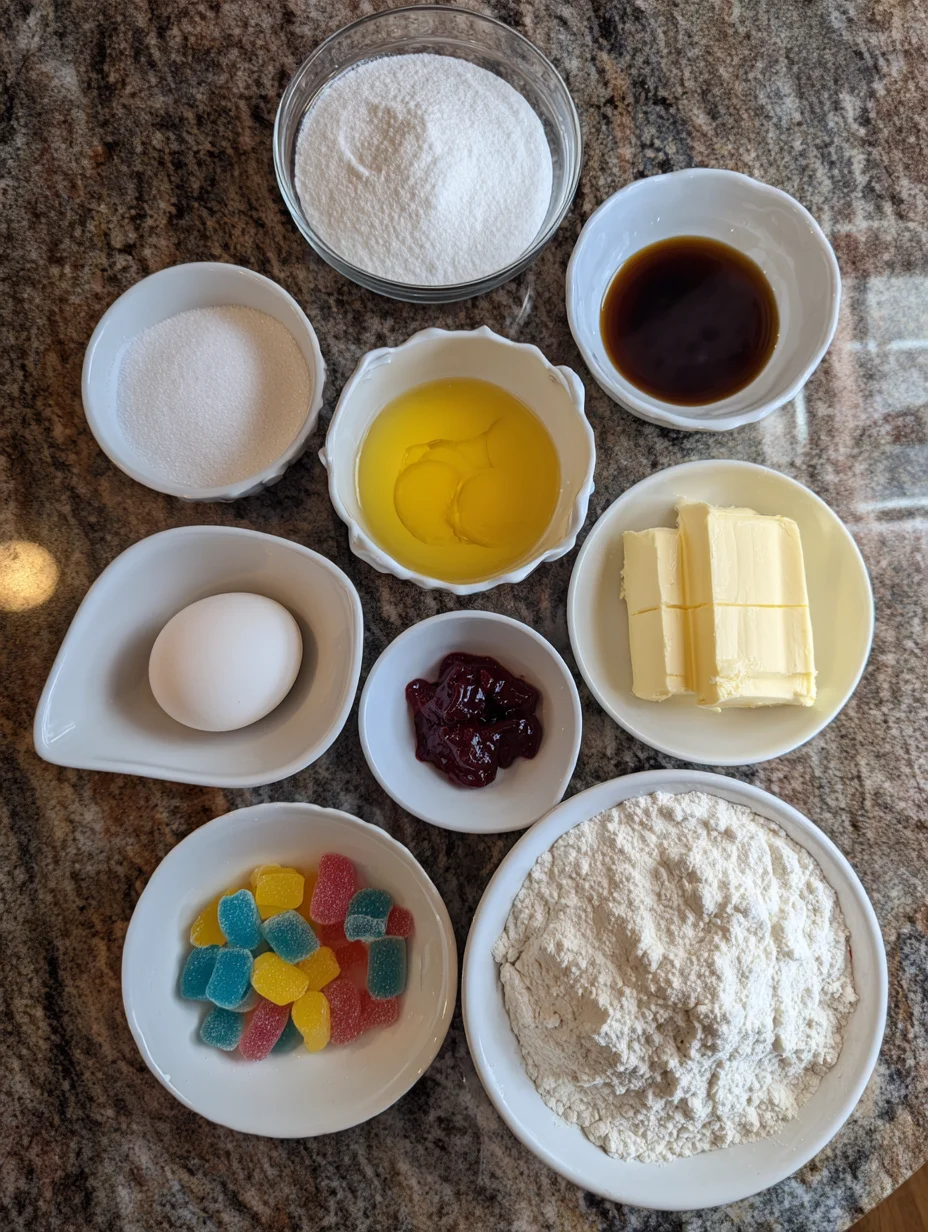
Essential Ingredients for Stained Glass Cookies
Unsalted Butter: The base of these Stained Glass Cookies, unsalted butter provides a rich, creamy texture that melts in your mouth. I always use it room temperature to ensure even creaming with the sugar, which helps the dough hold its shape around the candy centers. Without it, the cookies would lack that tender crumb we all crave, so don’t skimp here—it’s worth splurging on high-quality if you can.
Grab This Kitchen Scale Now — Best Precision Pick!

- Razor-Accurate Every Time: Dual-increment precision down to 0.1g — perfect for baking, meal prep, and portion control with g, oz, ml, and fl'oz modes.
- Smart Removable Bowl Design: Detachable bowl doubles as a protective case for compact storage. Tare function lets you weigh ingredients in any container with zero fuss.
- Built for Everyday Convenience: Auto-zero, tare function, low battery alert, overload indicator, and 2-minute auto-off to extend battery life — all in a sleek stainless steel build.
- ✓ "Perfect for baking — precise, lightweight, and stores easily without wasting counter space"
- ✓ "A game changer! Weighing ingredients is now way more accurate than measuring cups"
- ✓ "Love the 0.1g precision and backlight — best food scale I've owned. Highly recommend!"
⏰ Only a few items left in stock - order soon
All-Purpose Flour: This staple gives structure to your Stained Glass Cookies, forming the crisp edges that frame the colorful candy windows. In my experience, sifting it prevents lumps and leads to smoother rolling, making the cut-out process a breeze. It’s the backbone that balances the sweetness from the candy, keeping everything from getting too cloying.
Hard Candies: Crushed into bits, these are the stars of Stained Glass Cookies, melting into vibrant, translucent designs during baking. Choose assorted flavors like cherry, lime, or blue raspberry for a rainbow effect that pops. They add not just color but a fruity zing that contrasts beautifully with the buttery dough—what a delightful surprise in every bite.
How to Make Stained Glass Cookies
Prepare the Dough
Start by creaming together the softened butter and sugar until light and fluffy—this usually takes about 2 minutes with an electric mixer. Add the egg and vanilla, mixing until smooth, then gradually incorporate the flour, salt, and baking powder to form a soft dough. In my experience, wrapping it in plastic and chilling for 30 minutes makes it easier to roll out without sticking. This step is crucial for Stained Glass Cookies to hold their intricate shapes later on.
Roll and Cut the Shapes
On a lightly floured surface, roll the dough to about 1/4-inch thickness, feeling the cool firmness give way under your rolling pin. Use cookie cutters to stamp out your desired shapes, then carefully cut smaller shapes in the centers to create the “windows” for the candy. Now, you might be thinking it’s fiddly, but with a steady hand and perhaps a toothpick for precision, it becomes meditative. Place them on a parchment-lined baking sheet, spacing them apart to allow for even baking.
Fill and Bake the Cookies
Sprinkle a pinch of crushed hard candy into each cut-out center, ensuring it’s even to avoid overflow—too much, and it might spread beyond the edges. Bake in a preheated 350°F oven for 8-10 minutes, watching as the candy melts into glossy, stained glass pools that harden as they cool. The aroma of vanilla mingling with fruity candy will fill your kitchen, building anticipation. Your Stained Glass Cookies are done when the edges are golden and the centers are set—let them cool completely on the tray to avoid cracking.
Ingredients
- 1 cup (2 sticks) unsalted butter, softened
- 1 cup granulated sugar
- 1 large egg
- 2 teaspoons vanilla extract
- 2 1/2 cups all-purpose flour
- 1/2 teaspoon salt
- 1/2 teaspoon baking powder
- 20-30 assorted hard candies, crushed (like Jolly Ranchers)
Stained Glass Cookies Instructions
- Cream butter and sugar in a large bowl until light and fluffy, about 2 minutes. Beat in egg and vanilla until combined.
- In a separate bowl, whisk together flour, salt, and baking powder. Gradually add to the wet ingredients, mixing until a dough forms. Wrap and chill for 30 minutes.
- Preheat oven to 350°F. Roll dough to 1/4-inch thickness on a floured surface. Cut out cookies with a large cutter, then use a smaller cutter to remove centers.
- Place on parchment-lined baking sheets. Fill center cut-outs with 1/2 teaspoon crushed candy per cookie.
- Bake 8-10 minutes until edges are golden and candy is melted. Cool on sheets for 5 minutes, then transfer to a wire rack to cool completely.

Pro Tips for the Best Stained Glass Cookies
Chill Thoroughly: Always chill the dough before rolling—it prevents it from softening too much in warm kitchens, ensuring sharp edges on your Stained Glass Cookies.
Candy Selection: Opt for clear hard candies; avoid chocolate ones as they don’t melt the same way and can ruin the stained glass effect.
Prevent Sticking: Use parchment paper or silicone mats on your baking sheets to keep the melted candy from adhering and breaking when you remove the cookies.
You Must Know
- Stained Glass Cookies bake quickly, so set a timer to avoid overbaking the delicate candy centers.
- The dough can be made up to 2 days in advance for better flavor development.
- Handle cooled cookies gently—the hardened candy can be brittle and prone to cracking.
- For gluten-free options, substitute a 1:1 gluten-free flour blend seamlessly.
How to Store Stained Glass Cookies
To keep your Stained Glass Cookies fresh, store them in an airtight container at room temperature for up to one week—the candy holds its shape well without getting sticky. If you’re in a humid area, a layer of wax paper between layers prevents colors from bleeding. For longer storage, freeze in a single layer for up to three months, then thaw at room temp; they taste just as good as fresh. Just avoid microwaving to reheat, as it might remelt the candy unexpectedly.
Customizing Your Stained Glass Cookies
Feel free to swap the vanilla extract for almond or lemon zest to add a twist to your Stained Glass Cookies, enhancing the fruity candy notes. For a vegan version, use plant-based butter and a flax egg substitute—they come out just as tender. If you love spice, incorporate a dash of cinnamon into the dough for warmth. Check out our lemon cookie recipe for more citrus-inspired ideas that pair beautifully with colorful centers.
What to Serve with Stained Glass Cookies
These vibrant treats shine alongside a hot cup of herbal tea or spiced chai, which cuts through the sweetness with its warmth. For a balanced snack, pair them with fresh fruit like berries or citrus slices to add a tart contrast. If you’re hosting, arrange them on a platter with nuts and cheese for a colorful dessert spread that appeals to all tastes. Don’t forget a glass of milk—it’s the classic that never fails with buttery cookies like these.

Stained Glass Cookies Recipe
These stained glass cookies are so pretty and they're REALLY EASY to make. Impress your guests with these beautiful AND tasty sugar cookies!
Timing
Recipe Details
Ingredients
- 01 1 cup Sugar
- 02 1/2 teaspoon Salt
- 03 1 Tablespoon Vanilla extract
- 04 1 Egg (large)
- 05 3/4 cup Butter (room temperature)
- 06 2-1/2 cups Flour
- 07 16 Jolly ranchers
Instructions
Gather your cookie ingredients and supplies.
Add the sugar, salt, vanilla, egg, and room temperature butter to a mixing bowl.
Combine the ingredients in a stand mixer or with a hand mixer.
Add the all purpose flour and mix until the dough starts to clump together.
Transfer the dough to your working surface and knead briefly.
Cover your dough with plastic wrap and chill in the refrigerator for 1 hour.
Unwrap two jolly ranchers and place them in a plastic baggie.
Use a hammer or meat mallet to crush the jolly ranchers into very small pieces. Powder is okay as well, but try and get rid of any large chunks. Repeat with other jolly rancher colours. Two jolly ranchers will fill 3 - 4 cookies, depending on your cut out size.
Add flour to your working surface. Place the dough on top and add a bit more flour on top of the dough.
Roll out the dough until it's just over 1/4 inch thick.
Use a cookie cutter to cut out star shapes, or whatever shape you'd like!
Place the cookies on a parchment lined baking tray. You can also use a silicone mat, but you need to cover your baking sheet with something to stop the candy from sticking.
Cut out the centers of the cookies with a smaller cookie cutter of a similar shape.
Fill the center of the cookies with the crushed candies. Make sure they don't overflow; just add enough to cover the hole. Try and remove any pieces that fall on the top of the cookies prior to baking.
Preheat your oven to 350F and bake the cookies for 12 minutes. Allow the cookies to cool on the tray for 20 - 30 minutes, until the candy center has hardened.
Your stained glass cookies are complete!
FILED UNDER:
NUTRITION FACTS (PER SERVING)
Nutrition information is calculated using an ingredient database and should be considered an estimate. In cases where multiple ingredient alternatives are given, the first listed is calculated for nutrition. Garnishes and optional ingredients are not included.
Frequently Asked Questions About Stained Glass Cookies
Can I make Stained Glass Cookies ahead of time?
Absolutely, you can prepare the dough up to two days in advance and store it chilled, or bake and store the cookies in an airtight container for a week. In my experience, the flavors even deepen a bit after a day. Just ensure the candy centers are fully hardened before stacking.
How long does Stained Glass Cookies last in the fridge?
Stained Glass Cookies stay fresh in the fridge for up to two weeks in a sealed container, though the candy might soften slightly in humidity. For best texture, room temperature storage is ideal. If freezing, they hold up well for months.
Why did my candy overflow in the Stained Glass Cookies?
Overflow usually happens from using too much crushed candy or uneven dough thickness—aim for a scant 1/2 teaspoon per center. Thinner dough edges can also cause spreading, so roll consistently. Next time, chill the filled cookies for 10 minutes before baking to set everything in place.
Are Stained Glass Cookies gluten-free?
Not with the standard recipe, but you can easily swap in a gluten-free flour blend for fantastic results—I’ve tested it and the texture holds up. Your Stained Glass Cookies will still have that crisp edge and colorful center. See our gluten-free apple mille-feuille recipe for more tips on substitutions.
Can I use royal icing to decorate Stained Glass Cookies?
Yes, once cooled, royal icing adds a pretty border without interfering with the candy melt. Pipe thin lines around the edges for a framed look. It dries hard, making them easy to stack or gift.
What if I don’t have hard candies for Stained Glass Cookies?
Isomalt crystals work as a substitute for the melting effect, or try clear mints for a subtle flavor—Stained Glass Cookies turn out beautifully either way. Avoid soft candies, as they won’t create the same translucent windows. Experiment with what you have for fun variations.
How can I make mini Stained Glass Cookies?
Simply use smaller cutters, like 2-inch rounds, and reduce baking time by 1-2 minutes—the centers will still shine. They’re perfect for cookie swaps. Watch closely to prevent overbaking the tiny versions.
Do Stained Glass Cookies need to be refrigerated?
No, room temperature is fine for up to a week, but in hot weather, the candy can soften. Your Stained Glass Cookies maintain their crunch best in a cool, dry spot. If layering, use parchment to protect the designs.
Final Thoughts
There’s something truly enchanting about baking Stained Glass Cookies—the way the colors burst to life in the oven reminds me why I love being in the kitchen. From the simple dough to the magical reveal, this recipe delivers joy in every bite and glance. I encourage you to gather your ingredients and give these Stained Glass Cookies a try; they’re bound to become a staple in your baking rotation. Share your creations with friends, and let me know how they turn out—you won’t be disappointed.